


HOW TO MAINTAIN CERAMIC FLOORS
How to repair hairline cracks in a tile floor
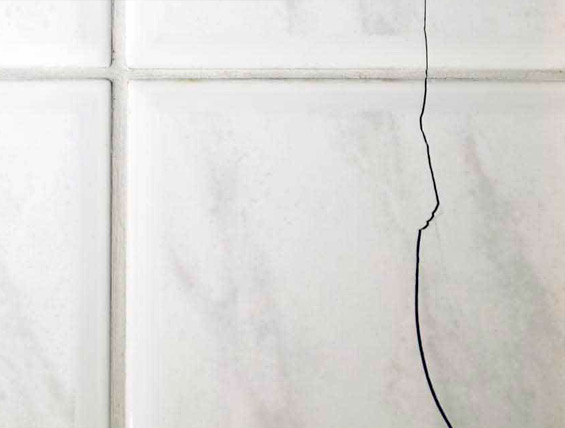
Ceramic tiles can end up with hairline cracks for a variety of reasons. Maybe you dropped something on the tile, like a cast iron pan. If your tile was installed over new concrete, it may crack as the concrete sets. Whatever the reason, you can fix them without having to call a professional. After the repair, your ceramic tile should look just as impressive as it did the first time it was installed.
Step 1
Identify the cause of the cracks. If your house was recently built and the flooring is shifting, you may want to wait six months before repairing the tile until the flooring has fully set. If not, new cracks may appear after the repair.
Step 2
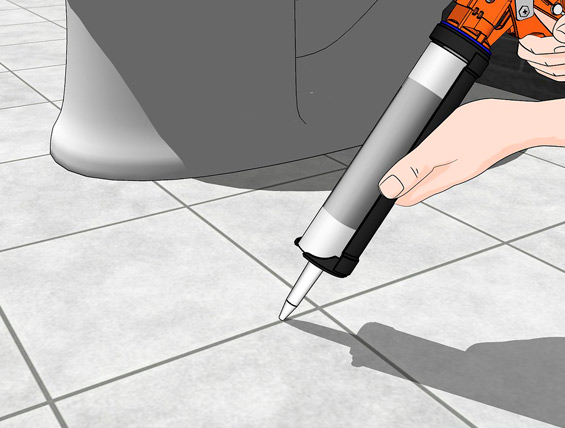
Apply clear epoxy resin to any hairline cracks you find. Because these cracks are so small, you may have to use a toothpick to push the compound into each crack. The resin should completely fill the cracks.
Ceramic tiles can end up with hairline cracks for a variety of reasons. Maybe you dropped something on the tile, like a cast iron pan. If your tile was installed over new concrete, it may crack as the concrete sets. Whatever the reason, you can fix them without having to call a professional. After the repair, your ceramic tile should look just as impressive as it did the first time it was installed.
Step 1
Identify the cause of the cracks. If your house was recently built and the flooring is shifting, you may want to wait six months before repairing the tile until the flooring has fully set. If not, new cracks may appear after the repair.
Step 2
Apply clear epoxy resin to any hairline cracks you find. Because these cracks are so small, you may have to use a toothpick to push the compound into each crack. The resin should completely fill the cracks.
Step 3
Let dry for several hours.
Step 4
Choose an oil paint that matches the color of the tiles. Apply a small amount of paint to the crack with a fine-tipped paintbrush. This will make the crack invisible to the naked eye.
Step 5
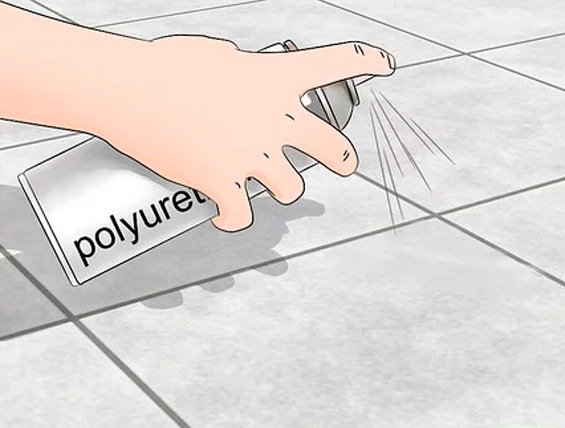
After the paint on the crack dries, cover the cracked tile with several coats of clear polyurethane. This will prevent the paint from wearing off and protect the tile.
Step 6
Reapply polyurethane every two years if necessary.How to remove adhesive from a ceramic floor
Let dry for several hours.
Step 4
Choose an oil paint that matches the color of the tiles. Apply a small amount of paint to the crack with a fine-tipped paintbrush. This will make the crack invisible to the naked eye.
Step 5
After the paint on the crack dries, cover the cracked tile with several coats of clear polyurethane. This will prevent the paint from wearing off and protect the tile.
Step 6
Reapply polyurethane every two years if necessary.How to remove adhesive from a ceramic floor
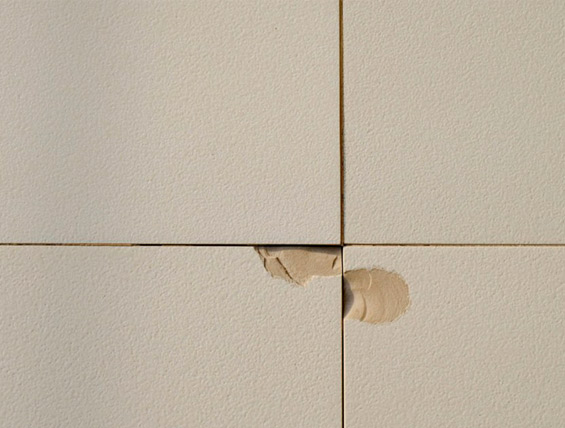
A common way to install a hardwood, linoleum, or carpet floor is to glue it directly onto the old floor surface. Ceramic flooring is an example of a suitable foundation or subfloor. To lay new flooring over ceramic, a very effective adhesive is used, which is quite a challenge to remove when you need to remove the flooring. Fortunately, this task can be made easier by using appropriate materials available at home improvement stores.
Step 1
Prepare a well-ventilated work space before using the adhesive remover. Opening the windows in the room will help you avoid breathing in harmful fumes.
Step 2
Use a 1 or 2 gallon (3.78 or 7.57 l) bucket to pour hot water over the affected areas on the tile floor. Let the adhesive soak for at least 10 minutes to loosen the residue, which will make removal easier.
Step 3
Carefully read the instructions on the product label to properly apply the solvent. After applying it, wait the time indicated in the instructions for the adhesive to loosen the desired substance.
Step 4
Scrape away the adhesive with the squeegee blade applying moderate pressure. Add more adhesive if some areas cannot be easily removed.
Step 5
Sweep the floor completely to loosen any loose glue. Use a neutral detergent to clean the ceramic floor thoroughly.
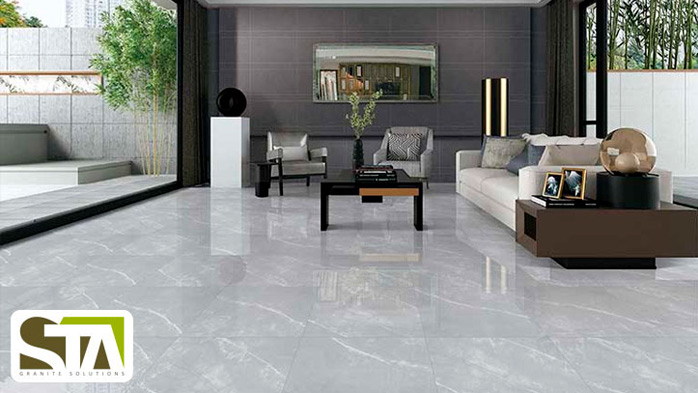
PORCELAIN FOR YOUR HOME, TILES
Ceramic tiles are thin pieces made of clay, silica, fluxes, dyes, and other raw materials to create floors and/or walls.…
Read More
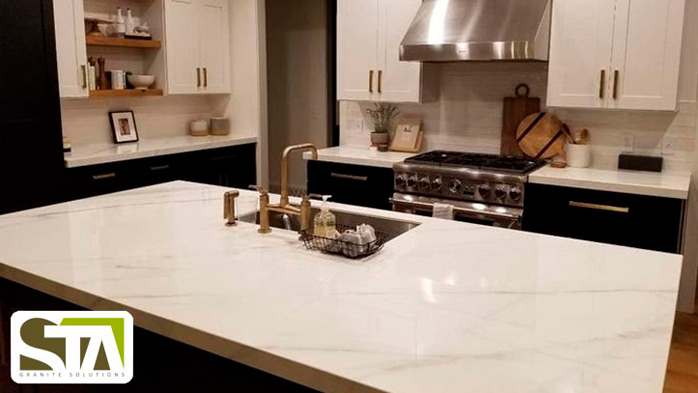
PORCELAIN FOR YOUR HOME, COUNTERTOPS FOR YOUR KITCHEN
Due to its great demand, porcelain kitchen countertops are becoming more sophisticated and have greater hardness
Read More
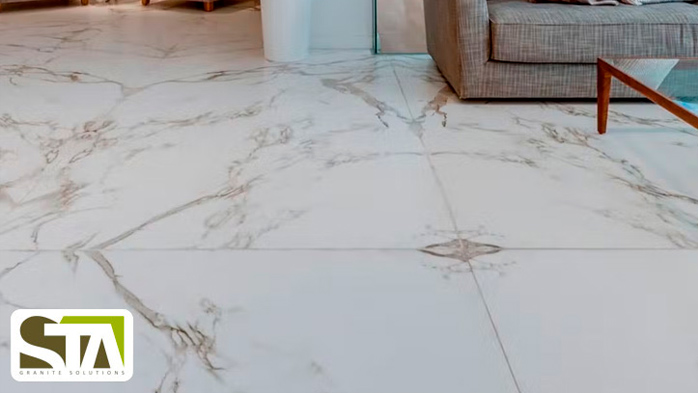
DEKTON FOR YOUR HOME, FLOORS, AND PAVEMENTS
Large format and minimal joints. Dekton allows you to create outdoor and indoor floors with great visual continuity and maximum…
Read More
- 1
- 2
- 3
- 4
- 5
- 6
- 7
- 8
- 9
- 10
- 11
- 12
- 13
- 14
- 15
- 16
- 17
- 18
- 19
- 20
- 21
- 22
- 23
- 24
- 25
- 26
- 27
- 28
- 29
- 30
- 31
- 32
- 33
- 34
